How to setup and customize AMP for blogs on WordPress Platform
There was a time when we had just one option to use the internet, and it was a Computer. Now, most of the users use their Smartphones and Tablet to go to the Internet. This is what made Google bring AMP.
AMP Stands for “Accelerated Mobile Pages.” It’s an open-source project backed by Google. All Smartphone users can’t afford to buy a high-end Smartphone, but they still use Google to find information and other stuff. So AMP basically removes the clutter from the browser, and make the page load faster. You can learn more about AMP from Google’s Post.
How to Setup AMP for my Blog running on WordPress Platform
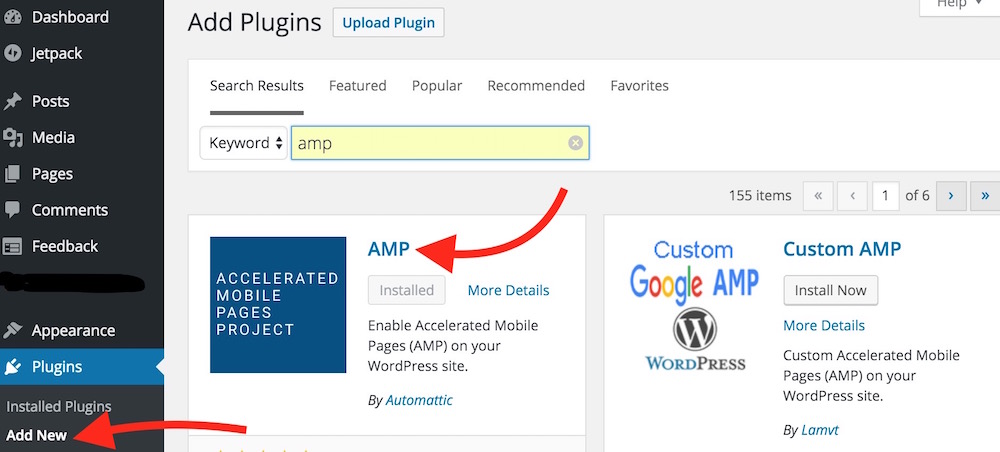
You have nothing to do except adding a WordPress Plugin. Log in to your WordPress Admin Panel, and add a WordPress Plugin “AMP.” Activate the Plugin, and you are done.
How to verify or test if Accelerated Mobile Pages (AMP) is enabled for your blog
After adding and activating AMP plugin for your WordPress blog, visit any article by adding “/amp/” in the end of the URL without quotes. You will see AMP-enabled page. Check the below URL for example;
https://www.example.com/example-article/amp/
After adding AMP, you will realize what the heck is wrong with the Web Page. You will realize that the actual design and customization you made for your blog, even Logo has disappeared. In terms of design, you will hate AMP for sure. There is nothing you can do except a little customization, and It is possible with 2 WordPress Plugins.
How to Customize Accelerated Mobile Pages for Mobile Devices
Update: Please read this article for better customization. It will also allow you to add Adsense ads. There is no need to follow the below-mentioned steps.
Update Ends.
- Keep the AMP Plugin installed
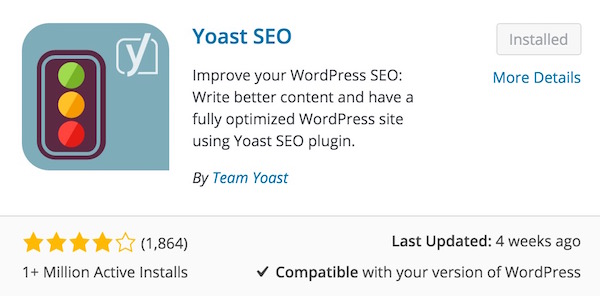
- Now install the “Yoast SEO” Plugin if you don’t have it installed. Skip this if you already have one
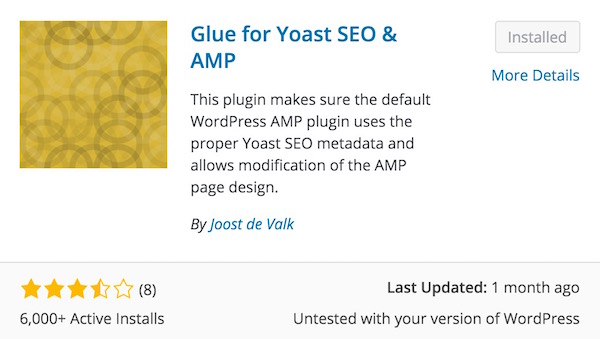
- Install another plugin “Glue for Yoast SEO & AMP”
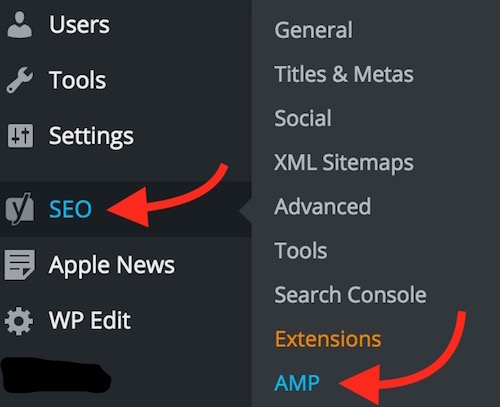
- Under Admin Panel, hover the mouse pointer on SEO option, and click AMP. Or you can click on SEO, and then Click AMP
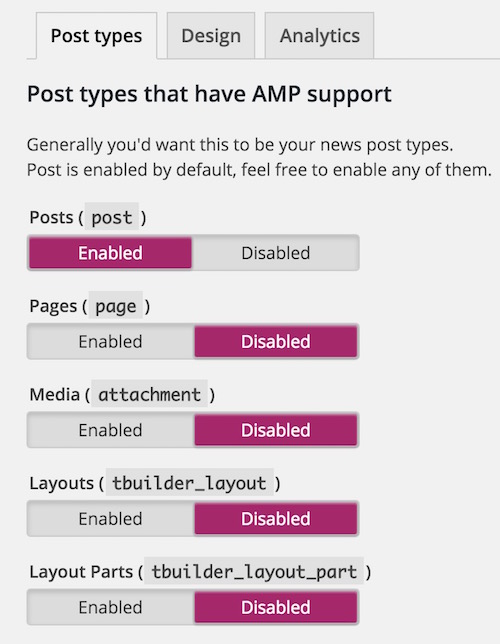
- You will find three tabs there; Post Types, Designs, and Analytics
- Post Types: It allows to select whether you want to enable AMP for Post only or for Pages, Media, etc.. You can enable or disable options here. It can also be used as Switch to enable or disable AMP
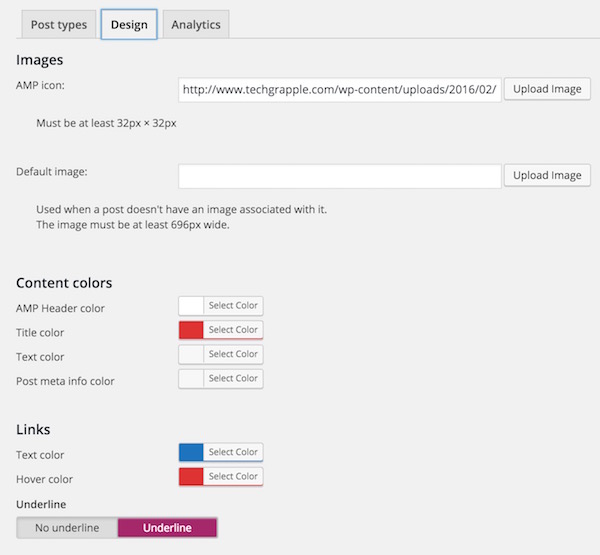
- Designs: This option allows to add Logo, select Content or Link Color, and you can even add an image here to display in the article by default. This image will only be used when your content has no image to display
- Analytics: It just allows to add your Google Analytics code
- Make desired changes and Save the settings
