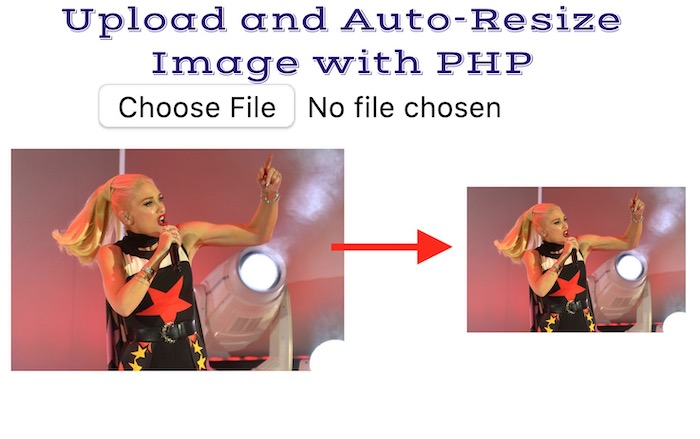
How to Upload an Image and Auto-Resize it with PHP

If you are trying make a web application that allows users to upload the image using the form and you want those images to be resized and serve them by other means, then this tutorial will help you. So let’s know how it’s done.
Step – 1: Create a Form where users can upload the image
We will create just a simple form with the file upload option. You can customize and design however you like. The form uses upload.php as
<form action="upload.php" method="post" enctype="multipart/form-data">
       <input type="file" name="image">
       <input type="submit" value="Submit" name="submit">
 </form>
Step 2: PHP File (Image) Upload Script and Explanation
Here is the Upload.php that we are using as action
    if(isset($_FILES['image'])){
        $file_name = $_FILES['image']['name'];
        $file_size = $_FILES['image']['size'];
        $tmp_file = $_FILES['image']['tmp_name'];
        $tmp = explode('.',$file_name);
        $file_extension = strtolower(end($tmp));

        $image_type = array("jpeg", "jpg", "png", "gif");
        $errors = array();

    if(in_array($file_extension, $image_type)===false){
        $errors[] = "Only .JPG, .JPEG, .PNG, and.GIF files are allowed.";
        print $errors[0];
        echo "<br>";
    }
    elseif($file_size > 3145728){
        $errors[] = "The file must be equal to or lower than 3MB.";
        print $errors[0];
    }else{
        move_uploaded_file($tmp_file, "uploads/" . $file_name);
    }
}
Explanation: In the upload.php script file. We are allowing users to upload .gif, .jpg, .jpef, and .png files only. If users try to upload a different type of file, they will get an error message as “
Step 3: Resizing the image when it’s uploaded
Note: Please note that it will create a different image with the size you defined, and the original image will remain there as it is. You can delete them if you like. Or learn to auto-delete those file after resizing them (I have explained in the end of this article).
You can use the below script in the end of the upload.php script. So both the scripts is going to be under the same file and it will work just fine.
        $im = new imagick("uploads/" . $file_name);
        $imageFile = $im->getImageGeometry();
        $width = $imageFile['width'];
        $height = $imageFile['height'];
        $newHeight = 150;
        $newWidth = 150;

        $im->resizeImage($newWidth,$newHeight, imagick::PAINT_FILLTOBORDER, 0.9);

        $im->writeImage('Resizedimages/resized_'.$file_name);
Explanation: In the image resizing script, we are resizing the uploaded image in 150p x 150p resolution and saving it under the Resizedimages folder that you need to create under the same folder. The new image will be saved as “resized_filename.”
How to Auto Delete Uploaded Image After Resizing it?
If you want the uploaded image to resize and replace the user uploaded
Edit this line in the end of the code
Replace this :$im->writeImage('Resizedimages/resized_'.$file_name);with this:
$im->writeImage('Uploads/'.$file_name);
Note: Don’t forget to start with <?php and finish with ?>.