How to Deactivate or Remove Conda or Miniconda from Mac
If you have installed Conda on your macOS you may have realized that when you start Terminal you may (base) written at the start of line. When you see (base) in your terminal prompt after installing Conda, it indicates that the base Conda environment is active by default. If you find it distracting or prefer not to have the base environment activated by default, you can change this behavior. You can either Disable it or Remove it completely.
Option 1: Disable Auto-Activation of the Base Environment
You can disable the auto-activation of the base environment by running the following command:
conda config --set auto_activate_base falseThis command modifies the Conda configuration file to prevent the base environment from being activated automatically when you open a new terminal.
Option 2: Manually Deactivate the Base Environment
If you prefer to deactivate the base environment manually, you can do so by running:
conda deactivateMaking the Change Permanent
If you want to make sure the base environment is not activated by default for all future terminal sessions, you can add the conda deactivate command to your shell’s startup file (.bashrc, .bash_profile, or .zshrc depending on your shell).
For example, if you are using bash, you can add the following line to your .bash_profile or .bashrc:
echo 'conda deactivate' >> ~/.bashrc
source ~/.bashrc
If you are using zsh, add it to your .zshrc:
echo 'conda deactivate' >> ~/.zshrc
source ~/.zshrc
Save it and Exit and you are done! Restart your terminal to see the changes.
Option 3: Remove Conda Completely
Step 1: Remove Conda Directory
First, locate the Conda installation directory. Typically, it is installed in your home directory under anaconda3 or miniconda3.
To remove the Conda directory, use the rm command:
rm -rf ~/anaconda3If You have Miniconda Installed, instead run this command
rm -rf ~/miniconda3Step 2: Remove Conda Initialization from Shell Configuration Files
Conda modifies your shell configuration files (.bashrc, .bash_profile, or .zshrc) to add initialization commands. You need to remove these lines manually.
Open your shell configuration file with a text editor.
If you’re using bash, run this command in the terminal
nano ~/.bashrc
# or
nano ~/.bash_profile
If you’re using zsh:
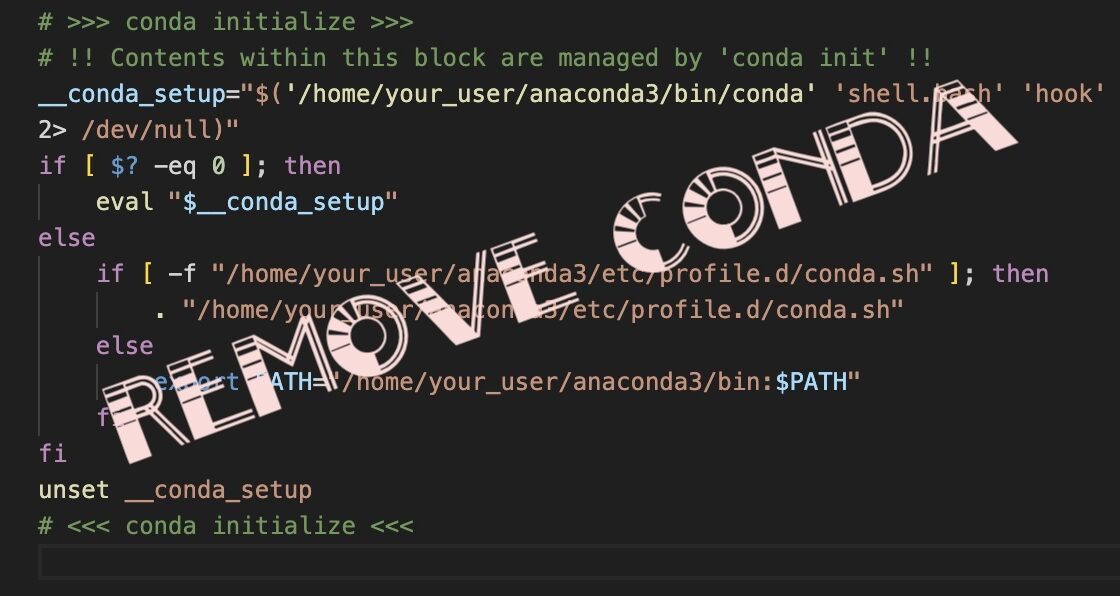
nano ~/.zshrcLook for and remove the lines added by Conda, which usually look something like this:
# >>> conda initialize >>>
# !! Contents within this block are managed by 'conda init' !!
__conda_setup="$('/home/your_user/anaconda3/bin/conda' 'shell.bash' 'hook' 2> /dev/null)"
if [ $? -eq 0 ]; then
    eval "$__conda_setup"
else
    if [ -f "/home/your_user/anaconda3/etc/profile.d/conda.sh" ]; then
        . "/home/your_user/anaconda3/etc/profile.d/conda.sh"
    else
        export PATH="/home/your_user/anaconda3/bin:$PATH"
    fi
fi
unset __conda_setup
# <<< conda initialize <<<
Save the file and exit the editor.
3. Remove Conda from PATH
Ensure that Conda is removed from the PATH environment variable. You can do this by editing your shell configuration file and removing any references to Conda in the PATH variable.
4. Source the Shell Configuration File
After editing the shell configuration file, source it to apply the changes:
source ~/.bashrc
# or
source ~/.bash_profile
# or if using zsh
source ~/.zshrc
5. Verify Uninstallation
Restart the terminal first. The (base) thing should be gone by now.
To verify that Conda is uninstalled, you can check that the conda command is no longer available:
conda --versionThis command should return an error that means Conda is uninstalled.