How to Password Protect Folders and Files on Mac OS X
Earlier we discussed how a user can encrypt data on Mac, and now we are here to explain how you can password protect folders and files on Mac OS X. If your Mac is used by multiple users or guest, the best thing to do “add a new user to Mac or enable guest account.” This will help you keep your file separate from other users, and there is no need to password protect folders or files. However, if you don’t want to do that we are here to give you step-by-step guide to password protect a Folder or files on Mac
If you want to protect a ZIP file or doc with the password on Mac, please rear our article how to password protect zip on mac.
How to Encrypt and Password Protect Folders and files on Mac OS X
- If you have multiple files that you want to Password Protect, put all the files in a new folder. It could a document, image, video, or any other file
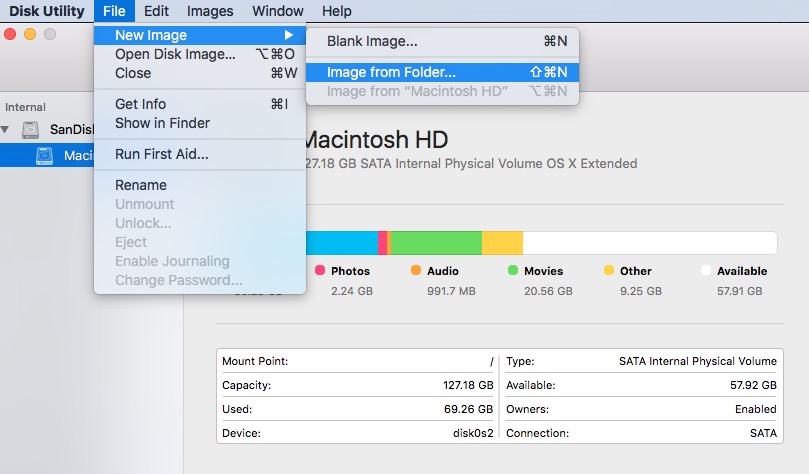
- Now Launch Disk Utility (go to Launchpad, and type disk Utility In search, and open it)

- After launching Disk Utility, click File, Select New Image, and hit Image from Folder option
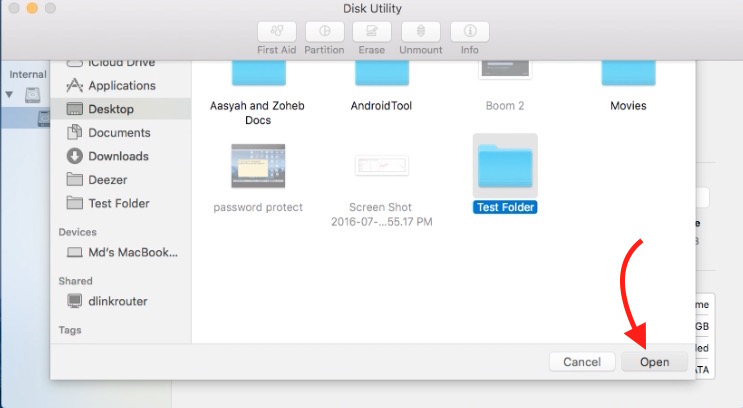
- Locate the folder on your Mac, select it, and click Open
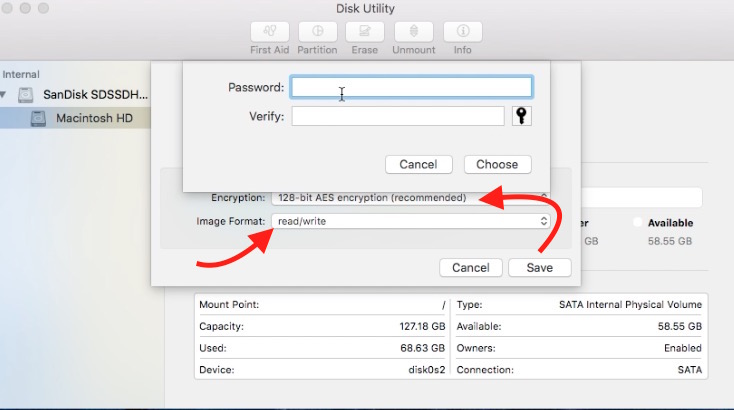
- Select read/write for Image Format, and 128-bit AES Encryption for Encryption (You may select 256-bit encryption, but that works slower)
- As soon as you select Encryption option, it will ask to enter a password. Enter the password in Password field, and enter again in Verify field, and then click Choose
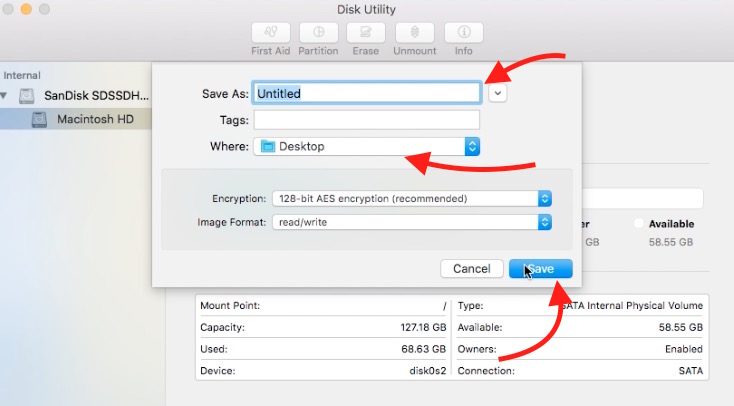
- Enter the name for the file, select desired folder or location where you want to save the file, and hit Save button
- Now wait for the process to complete. It may take little time depending on the file size
- Once encryption is complete, you will get the output as .dmg file
- That’s it, and now you have Password Protected the folder with 128-bit AES Encryption
- Now you have the folder in .dmg format that will require a password to see its content
How to see or use a Password Protected or Encrypted Folder on Mac
- The folder you Password Protected is in .dmg format, you can double-click to open it
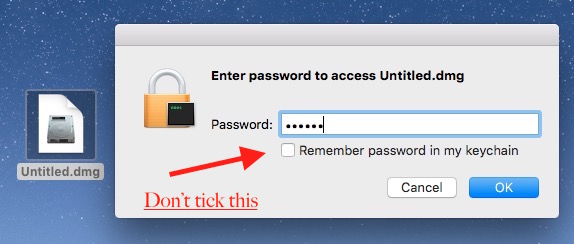
- Enter the password, and click OK
- Note : Don’t tick the option “Remember password in my keychain.” If you do so, it won’t ask to enter the password when you or someone else open it next time
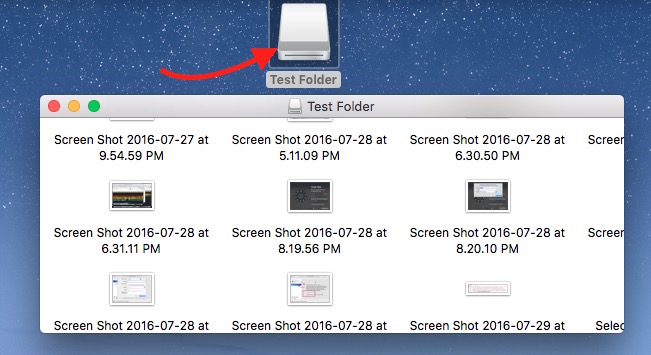
- Now you will see an additional disk added to your Mac. Double click on that disk to open it. You can also see its content launching Finder App
- As we have given the permission to read and write, so you can delete any file, or drag and drop other files to add to this encrypted folder. Once you click the close icon, it will save it automatically
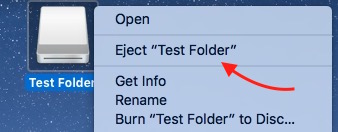
- When you don’t need it, right-click on disk, and select Eject (don’t worry, .dmg file will not be deleted)
You can watch the whole process in this video if you face any issue

