How to Record iPhone’s Screen Wirelessly With or Without a Computer
There are a couple of ways to record iOS devices’ screen, but that need you to connect your iPhone to the computer via lightning cable. However, you can record iOS screen without any cable and even without a computer. Today, we will tell you 2 ways to record iPhone’s screen; via lightening cable and without any cable/computer.
How to record iPhone’s Screen Using a Mac (The Cable Way)
- Connect your iPhone to Mac via supplied lightening cable.
- Launch QuickTime Player on your Mac.
- Click on File option in the menu bar, and select New Movie Recording option.
- If your iPhone’s screen doesn’t appear within QuickTime Player, click on small arrow icon located along with recording button, and then select your iPhone.
- Click the recording button, and it will start recording your iPhone’s screen.
If you are facing any trouble, read our detailed article about iPhone Screen Recording.
How to record iPhone’s Screen Wirelessly without any computer and cable (Works Without Jailbreak)

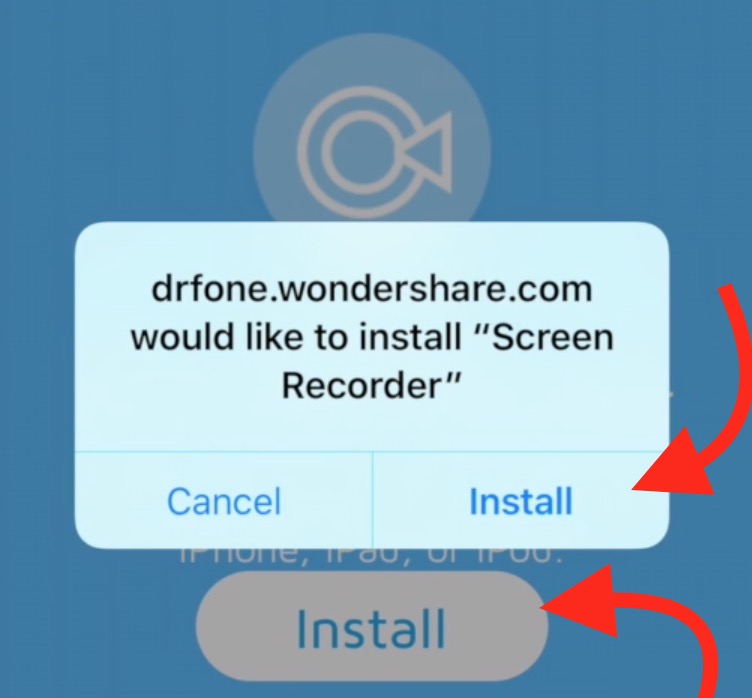
- It will require you to download an application. Visit This Page Via Safari on iPhone, and click on Install button. Now you will see a prompt, tap on Install option to confirm the installation.
- Once installed, you will see Screen Recorder app in the menu on your iPhone.
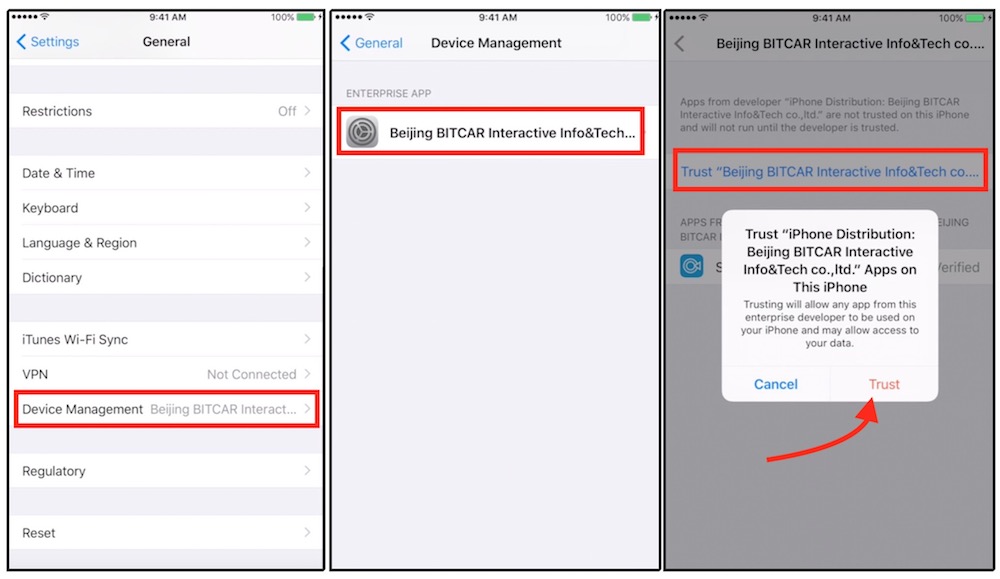
- Now go to your iPhone’s Settings app.
- Tap on General option, and then hit Device Management option.
- Now you need to tap on Beijing BITCAR Interactive Info&Tech option, and tap on Trust option on the next page and confirm it by tapping on Trust when you see a prompt on the screen.
- Launch the Screen Recorder app now, and tap on Next button.
- You can tap on Continue Trial to test the app. The trial version doesn’t let you record more than 1 minute. If you like it, you can buy it. It will come with a lifetime free license that will work on iOS device as well as Windows.
- After you log in, come back to the home screen, and Press the Next button again, and the app will start recording screen. Once you are done, tap on Stop button. All the recorded videos are automatically saved under Photos app.
Record iOS Screen on Windows Computer Wirelessly
If you don’t own a Mac, you must install a third party application on your Windows computer. How about an application that makes the job even easier? The app I am going to tell about, allows users recording iPhone’s screen wirelessly.
- Download and Install this app on your Windows computer.
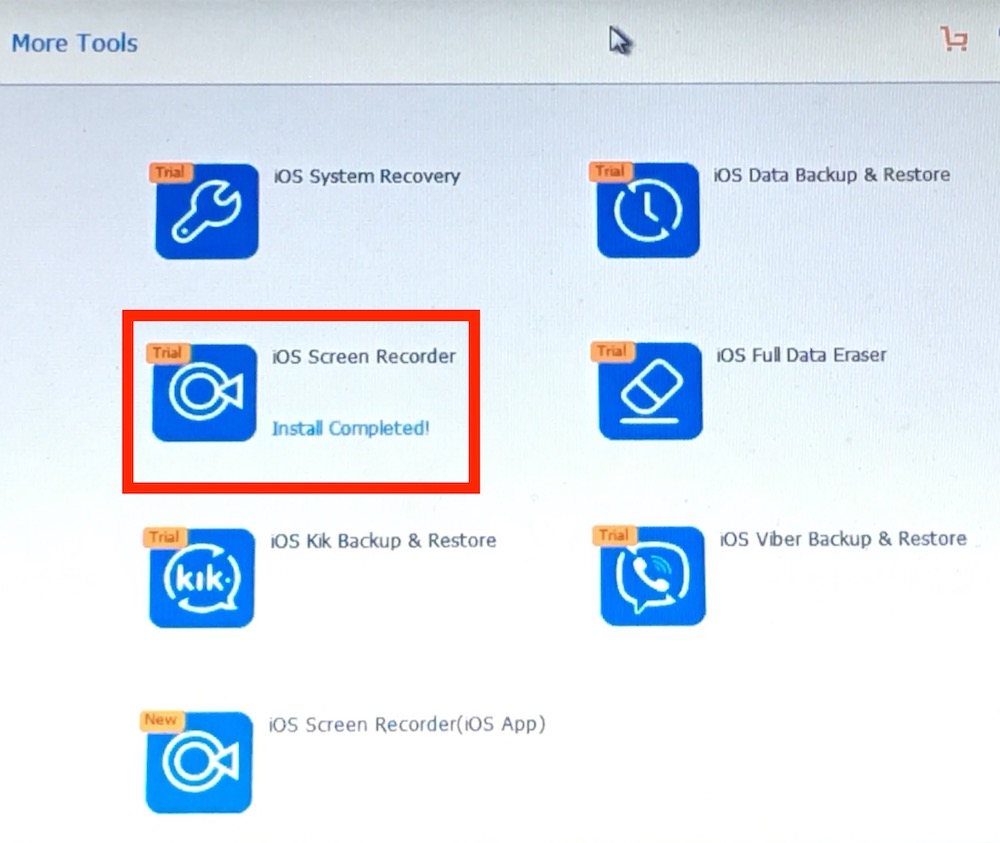
- Launch the application, click on More Tools option, and hit the iOS Screen Recorder option to install it.
- Once Installed, double-click on iOS Screen Recorder option to launch it.
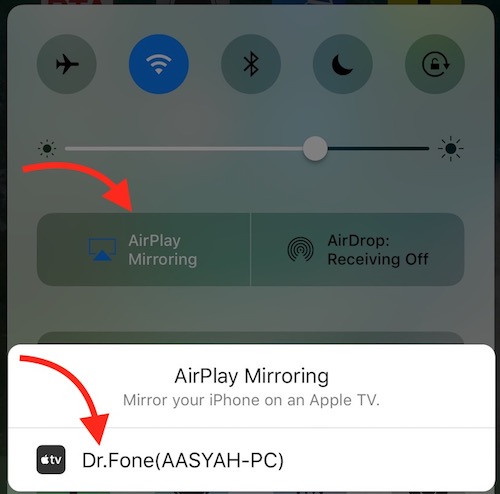
- On your iPhone, swipe up (from bottom) on the screen to access shortcuts. Tap on AirPlay Mirroring option, and select Dr.Fone.
- Now your device screen will be mirrored on Windows computer. Press the record button on your computer to start recording your iPhone’s screen.
- With the trial version, you get limited features. If you have bought it for your iPhone, you can use the same key.


