How to Show Cookie Notice on your Website or blog to meet EU cookie law regulations
Web Cookie, Internet Cookie or Browser Cookie is a small piece of data that is stored in user’s browser or computer’s hard disk to remember user’s preferences. When you visit a website, you may be asked to fill some information, like your name, age, email address and so on. Such piece of information is saved under internet browser. When you visit the same website or web page again, it remembers your preferences and shows you a customize web page.
There are various kind of Web Cookie, but the two most popular are; Session Cookie and Persistent Cookie. Session Cookie is stored temporarily in the browser, and it expires once you close the browser. Persistent Cookie comes with predefined expiry date, and it expires automatically after a certain period, or you can delete manually.
Why Cookie Notice is required on a Blog or Website
European law requires every blogger and website owner to notify European users about Cookie used on your website or blog. This is to require visitors’ consent if they are okay with cookie usage or not.
How to Show Cookie Notice on your website or blog?
For blogs running on WordPress Platform
- Login to your blog’s admin panel
- Add a new plugin “Cookie Notice by dFactory”
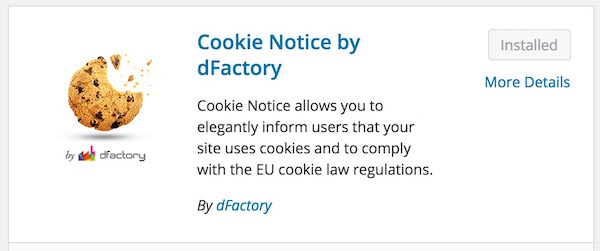
- Activate the plugin once installed
- Now Click or Hover mouse pointer on Settings option under WordPress, and then select Cookie Notice
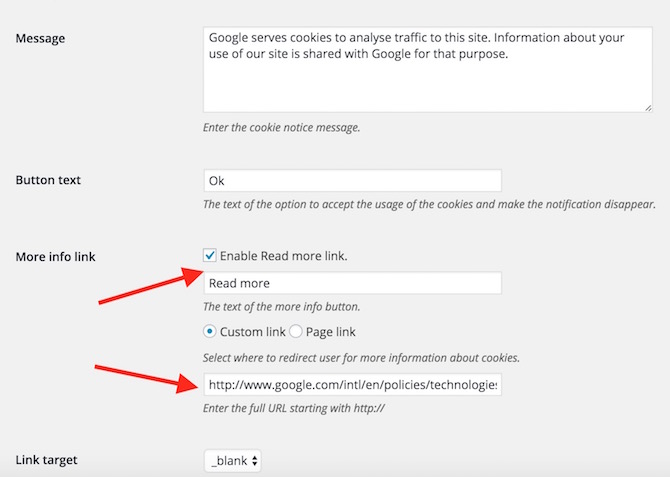
- Now you can change the default message that you want visitors to see. You can also add additional link or read more detail to explain Cookie Policy. In the screenshot below you can see Google Cookie Policy link that I have added as “Read More” option to provide more detail on Cookie. I did that, because I use Google Analytics to track visitors detail, like Browser, Country, Users’ Behavior on my blog etc.
- On the same page you will also get the option where you want the notification to appear (on the top of the page or bottom), and there are some more customization options
- Once you are done with customization, save the settings
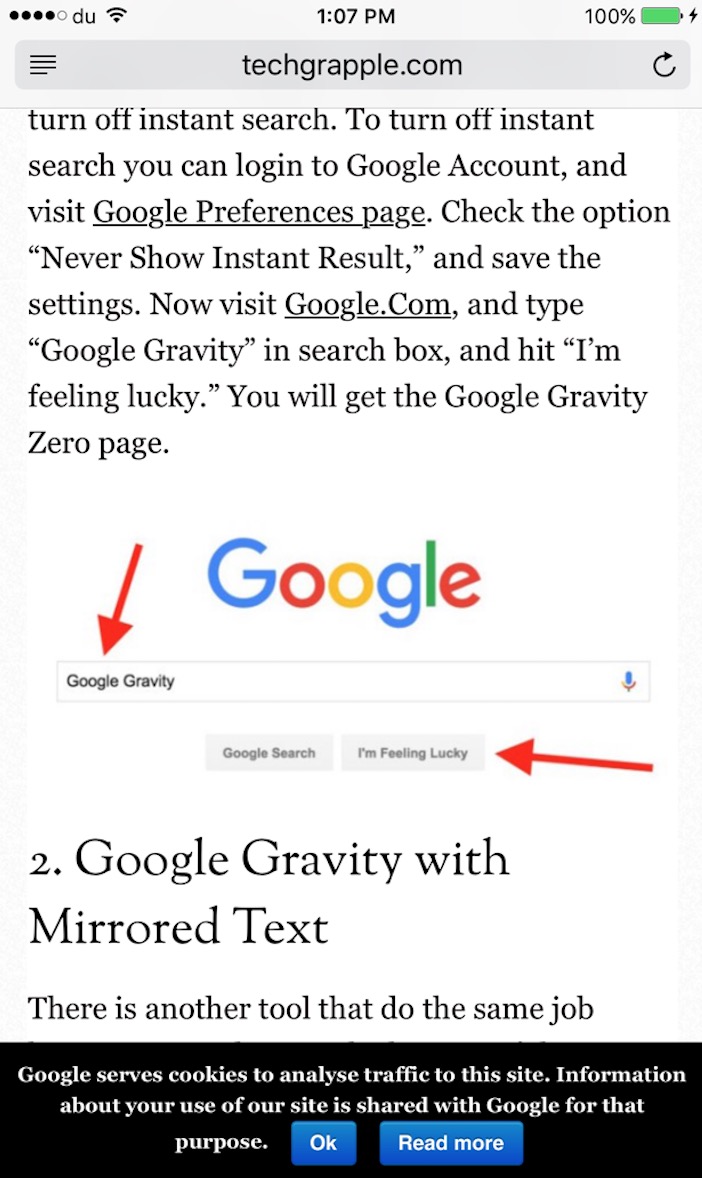
Here are some screenshots from computer, iPhone as well as Android Phone with Cookie Notification for TechGrapple.Com
For rest of the blogs and websites that are not on WordPress Platform
This method works on most of the platform including WordPress, but the first method we told for WordPress is the best. If you have a website on any other platform (e.g. Joomla, Blogger etc.), follow these steps;
- Visit Silktide.com
- Click Get the Code
- Now you have 5 steps to complete the cookie notification process. First of all, you will be asked to select the place to display notification. In the screenshot below, I have selected to show notification on the top of the screen. You can choose any design you like
- Now hit continue button to go to the second step
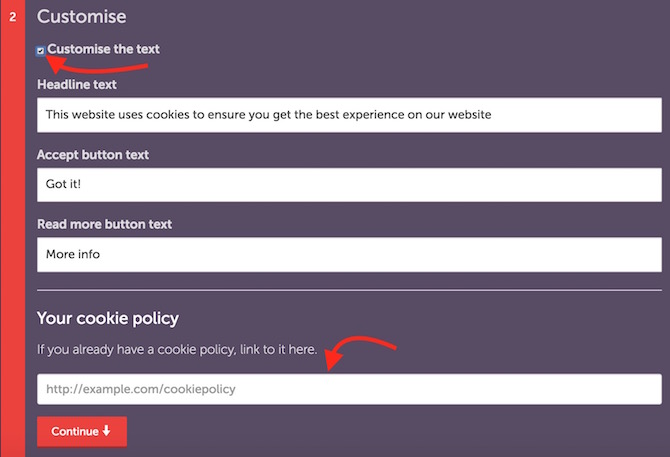
- Select Customise the text, and now you can edit the text to be displayed, or leave it as it is
- Supply the link to cookie policy if you have your own, or supply the link of any other website (e.g. Google Cookie policy, if you use analytics)
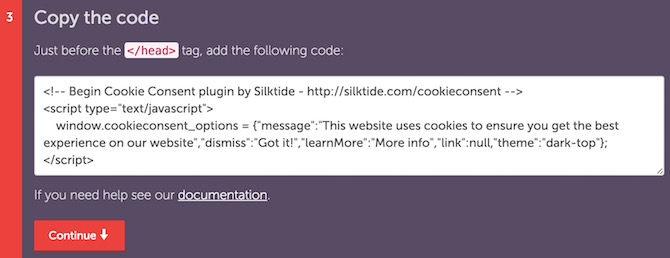
- You will be given the code in the 3rd step to add to your website. This code needs to be added before </head> (head closing tag) on your blog or website
- Step 4 is optional that asks to enter your email address to receive updates. You can skip if you want
- Option number 6 let you test if the code is added correctly on your website
Follow these steps to test if your website is running Cookie Notice properly
This method can be used to test any website whether they have added code from Silktide or not.
- If you are already on Silktide website, just click Test You’re Compliant, or click here to test
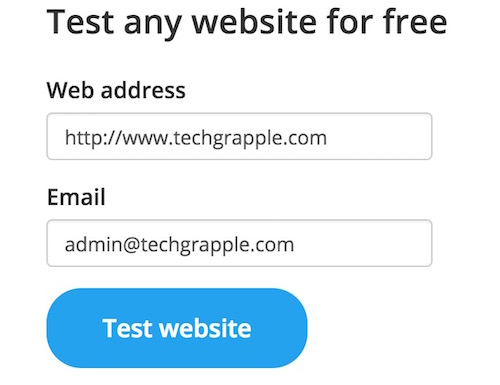
- Enter your website URL and a valid email address ( a temporary email address will also do)
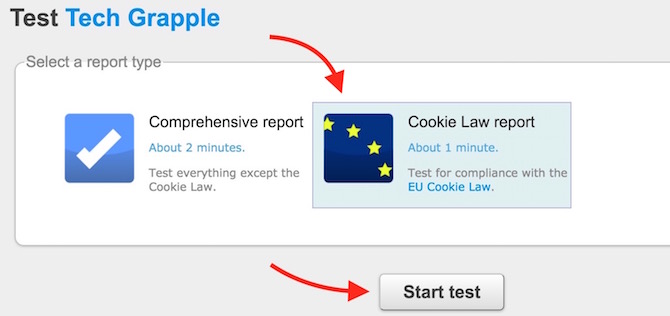
- Hit Test Website, and select Cookie Law Report in the next page
- Now hit, Start Test option
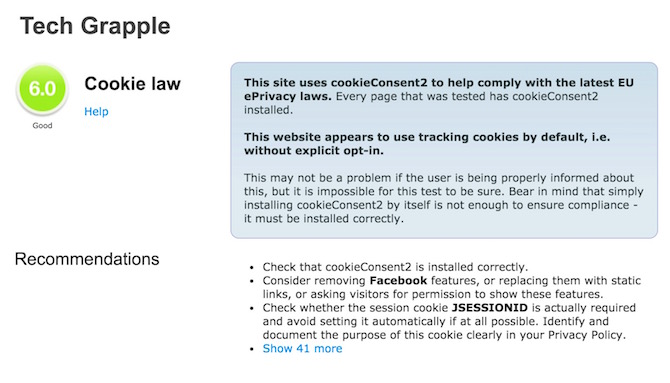
- It will take a couple of minutes for the test to complete, and you will be shown a report how your blog or website scored on Cookie Policy test
